Administration and management
Table of contents
Can I import email addresses and other data?
When starting with NEWSTROLL or when switching to us from another provider, it may be necessary to import existing customers. We offer a convenient import wizard for this. Email addresses including personalisations can be imported very easily. The following formats are currently supported:
- text
- CSV (comma-separated list)
- Excel
An import via our API is also possible. If you use an e-commerce shop such as Shopware (opens in a new tab), for example, the plugin takes care of the initial synchronisation automatically.
Example of an import
This is what your preview / import could look like if you have created the personalisations FirstName, Surname, Gender and Age.
| FirstName | Surname | Gender | Age | |
|---|---|---|---|---|
| erika.mustermann@domain.tld | Erika | Mustermann | f | 43 |
| manfred.meier@domain.tld | Manfred | Meier | m | 52 |
The corresponding CSV file must have the following content:
erika.mustermann@domain.tld;Erika;Mustermann;f;43
manfred.meier@domain.tld;Manfred;Meister;m;52
During the import, choose FirstName for column 2, Surname for column 3, Gender for column 4 and Age for column 5. If you do not want to import a personalisation, leave it out. If addresses already exist in your system before the import, their personalisations may be overwritten.
Do you also create newsletters for me?
We only provide the technical platform (software) for email marketing. If you need support creating a template, please get in touch. We will make you an attractive offer. If you need the help of an agency or a press office, please contact one of our partners (opens in a new tab). Our partners will be happy to help you develop suitable email marketing strategies and can also look after your newsletter in the long term.
A reader has a new email address. How can I change the email address?
Either enter the new email address (for example via your subscription form) or change the email address in the administration area (lists). To do so, find the reader using the search function.

After selecting the email address found, you are taken to the reader's detail page. You can also change the email address there.
Please note that readers go through the double opt-in process both when subscribing via your form and when the email address is changed on the detail page. This way, the consent or change is logged correctly in accordance with the GDPR.
How can I unsubscribe or delete a recipient?
The quickest way to delete a recipient is via the recipient's detail page. The easiest way to get to the detail page is the search function at the very top:
Type in the email address and matching entries from your lists are shown automatically. Now select the entry you want. You are taken to the detail page of the email address.
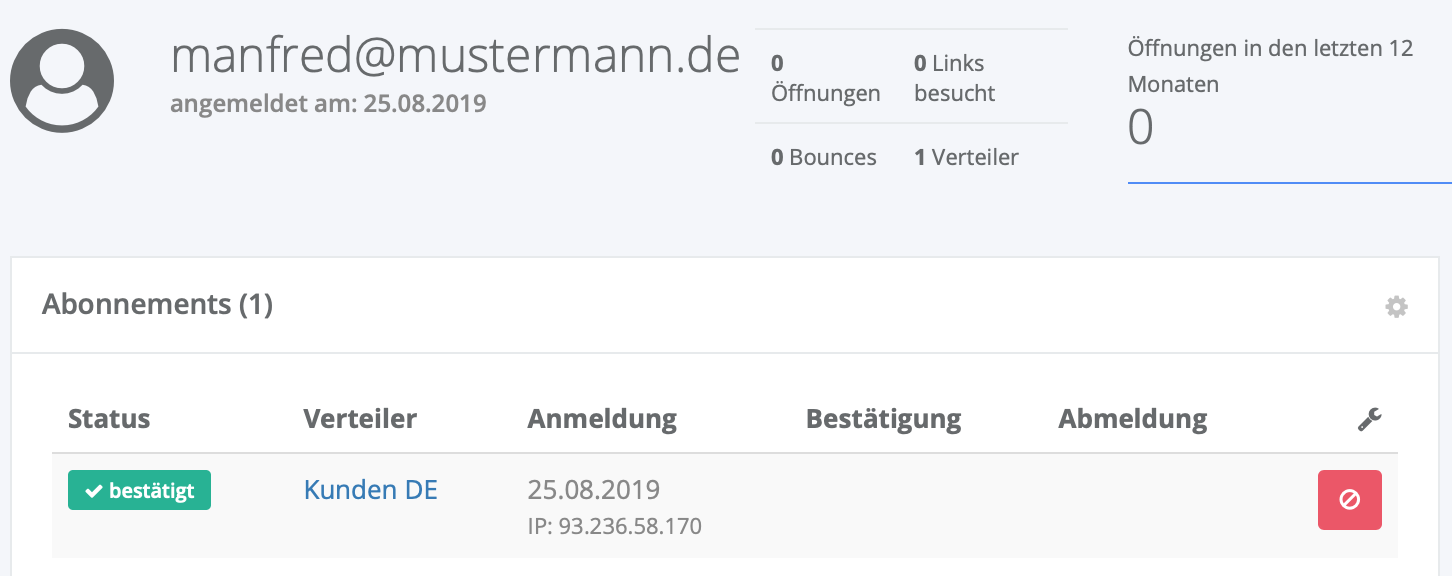
The screenshot shows an example detail page on which a recipient is subscribed to a list and confirmed. Now click the red delete icon to remove the recipient from this list. If the recipient is not assigned to any other list, the email address and the associated personalisations are deleted as well.
Why are there different user permissions?
Permissions per user allow you to restrict access to individual content in the administration area. You can assign the following permissions.
| Role | Permission |
|---|---|
| Guest | Reports |
| Author | Create templates and drafts, reports |
| Extended author | Create templates and drafts, send newsletters, reports |
| Editor | Create templates and drafts, send newsletters, manage lists / email addresses, reports |
| Administrator | Unrestricted access |
| API | Access to the NEWSTROLL API |
When you have created another account, the user is notified at the email address given. After confirming the account and setting a password, the user can use the system.
How does bounce management / the maintenance of email addresses work?
Invalid email addresses have a negative effect on the acceptance / reputation of a newsletter. Regardless of any whitelisting, a newsletter is classified as SPAM more quickly if it contains many invalid (no longer existing) email addresses. This is why we have implemented intelligent bounce management in our software.
A bounce message, also called a delivery status notification (DSN) message, non-delivery notification (NDN) or simply a bounce, is an error message generated automatically by a mail server when an email cannot be delivered.
This error message is sent by email to the sender (envelope sender) of the undeliverable email and is analysed automatically by our system. A distinction is made between hard bounces, caused by permanent errors, for example when the recipient's email address does not exist, and soft bounces, generated for temporary problems, for example when the recipient's mailbox quota is exhausted or the hard disk is full.
Our bounce management system creates a list of all readers whose email address is invalid or to whom a newsletter could not be delivered for various reasons.
Recipients are no longer included when sending once the following limits are exceeded:
| Reason for the bounce | Failed delivery attempts |
|---|---|
| Mailbox full | 5 |
| Unknown user | 1 |
| Unknown domain | 5 |
| Unknown | 5 |
| Mailbox disabled | 1 |
| Spam complaint | 1 |
RFC3463 (opens in a new tab) contains more information on the individual bounce status codes.
How can I remove an invalid or undeliverable email address from the blacklist?
In some cases you may not be able to import an email address, with the error message "undeliverable email address". For invalid or undeliverable email addresses, delivery attempts have already failed in the past, which is why these email addresses cannot be imported.
If the email address is demonstrably correct, you can add the recipient to the list again. To do so, please enter the email address via the subscription form on your website or use the option in the dashboard to subscribe the email address with double opt-in.
What is a blacklist? How do I add an email address to it?
In certain cases it is necessary to blacklist email addresses. This way you can, for example, make sure that you do not import the address again unexpectedly and write to it again. We offer you the option of blocking email addresses, entire domains or combinations of both.

The following examples show which selection to make:
| Blacklist | Email entered | Type |
|---|---|---|
| test@* | test | User |
| *@domain.de | domain.de | Domain |
| test@domain.de | test@domain.de |
The blacklist entry applies to all your lists.
Which data is removed from the system when a campaign is deleted?
Before you delete a campaign, it is important to know exactly which data is affected. Every newsletter and its data is assigned to a campaign. Therefore all archived newsletters including their statistics in this campaign are deleted as well:
- all newsletters (including any attachments)
- statistics and reports of the dispatch
- unsubscribe statistics
- link tracker statistics
- open rate statistics
Which data is not deleted? Reader data (for example email addresses or personalisations) is never deleted.
What is a list and how do I create one?
A list is used to distinguish the different interest groups that receive newsletters. These could be, for example:
- customer groups (dealers, customers, employees)
- sending frequency of the newsletters (daily, weekly, monthly)
- areas of interest (finance, health, sport)
- customers in different countries / languages
- internal purposes (administrators, test list)
Newsletters or transactional emails can be sent to one or more lists. Duplicate delivery of a newsletter is ruled out for a combined send job. This means that a reader can be on several lists but still receives the newsletter only once if all lists were selected for the send job.
Use the automatically created internal test list and send a newsletter to this list first. This lets you check whether the final draft really is what the recipients are supposed to receive.
How do I create a list?
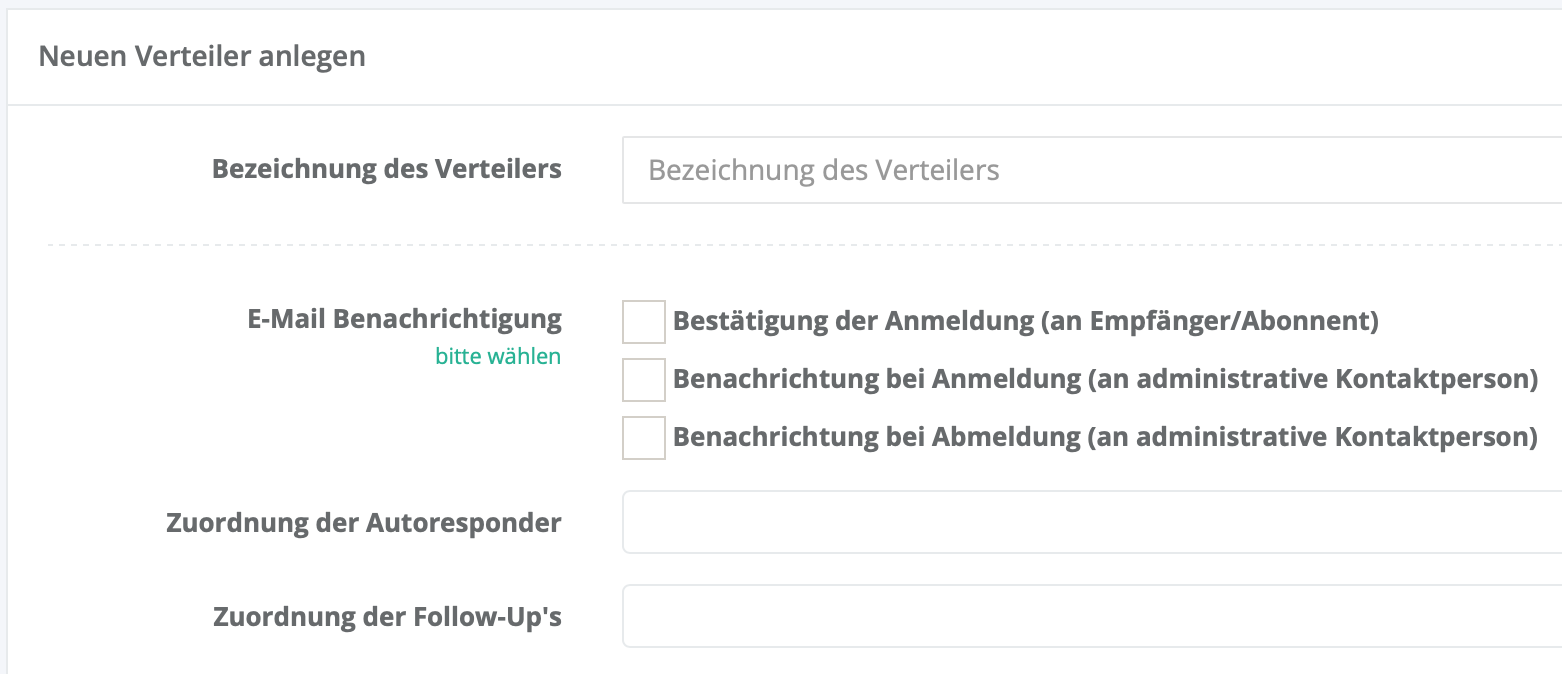
Go to Lists (opens in a new tab) in your personal administration area and choose Create list at the top right. Now choose a name for the list and set the options you want.
How can I change my account details and billing address?
You will find your account details in the administration area under System data - My account (opens in a new tab). The account management lets you maintain important contact details and your billing address in one central place. You can also change the payment period and the email address for invoices there.
Why do I have to enter an administrative email address?
Several email addresses have to be entered in the system settings. Below you will find a short overview of which email address is used for what.
-
Sender email
This address is used as the sender of your transactional emails and newsletters. Please note that a different email address can be entered for each campaign. Its domain must not differ from the domain in your account details.
-
Administrative email address
We use this email address for system information such as notifications, reports or system status information (e.g. the import report).
-
Email address (invoice recipient)
Recipient of invoices, payment notices or contractual matters (terms and conditions, prices etc.).
-
Email address (user login)
The email address of the registered user for logging in or resetting the password.
How can I export my email addresses or make a backup?
If you would like to back up your stored email addresses including personalisations, please choose the (blue) backup icon in the overview of your lists and then the export format you want.
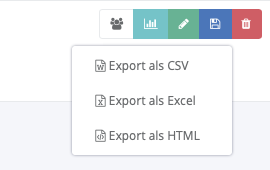
You can choose between the following formats:
- CSV
- Excel
- HTML
Please note that an export combines all email addresses in a single file. If a recipient is assigned to several lists, the recipient appears only once in the backup. If you want to back up each list separately, please make a separate export for each list. The file created is sent to you by email.
How do I change the order of personalisations?
The order of the personalisations (opens in a new tab) is reflected in the following areas, among others:
- detail view of a recipient
- backup or export of your data
- import of recipients and data (order of the columns in the import)
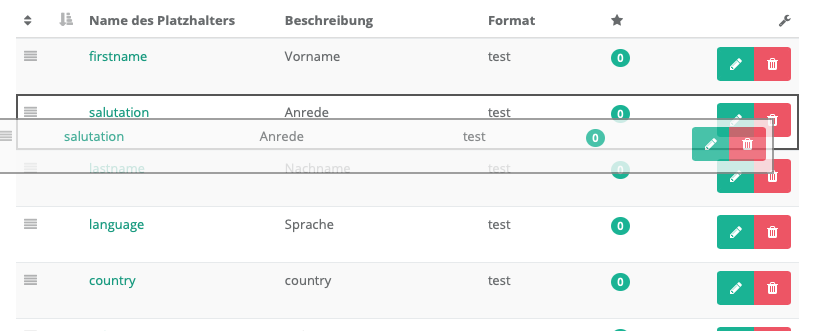
If you have already created the personalisations, you can easily change their order using the icon on the left (first column). Select the icon in the row you want and drag it to its new position.