First steps
Summary
In this tutorial (quick start guide) we explain the most important functions of our software. Once you have read it, you will be able to create and send your first newsletter. If you would like to use further functions, please have a look at our guides and the frequently asked questions or use the search in the top navigation.
Table of contents
Registration
If you have not registered a newsletter system yet, please sign up here (opens in a new tab). To register a new system we need:
- first name and surname
- your email address
- user name
- strong password
After submitting the form you will receive an email at the address you entered, confirming your registration. Please click the link in this email to complete the registration. A message appears saying that your account has been activated successfully. You can now log in with the user name & password you have just created.
Getting started & navigation
After logging in you are in the administration area. On the left you will find the menu, grouped by area:
Dashboard
At a glance, the dashboard shows the newsletters currently being sent and the drafts you edited last. Next to them, on the right, you can add a new recipient to the list of your choice or import recipients. Important: no double opt-in takes place when importing.
Below you will find the opens and clicks of the newsletter you sent last and a chart showing the performance of your recent newsletters.
System data
The system data menu contains functions such as the management of your account details and users (My account and Users). For example, update your billing address there or add further users to your newsletter system. The Log lets you trace the history of actions carried out, and Cost control lets you keep an eye on the number of emails sent.
Emails
This section contains all templates, drafts and send jobs (Send). Templates are not meant to be sent; they provide a basic structure once that you can reuse for later emails. Once a template has been created, you can easily use it for a new newsletter draft, adapt the content and send it straight away.
The archive (Sent) contains all newsletters sent so far. With one click you can also use a newsletter that has already been sent as a new draft. Follow-ups (Gold package and up) let you send an email automatically according to certain rules (for example days after subscribing to the newsletter). The autoresponders (Gold package and up) contain all transactional emails needed for subscribing and unsubscribing (double opt-in).
Campaigns let you easily vary the sender of the newsletter (FROM) and decide whether the open rate should be measured. You can also edit or delete link trackers (measuring and analysing the links in a newsletter) here afterwards.
Lists
The area for creating and organising lists. A list contains your email addresses and possibly also personal data such as names and postal addresses. In the list management you can decide whether readers receive a confirmation of their subscription or are added to the blacklist when they unsubscribe (list configuration). You can also edit and remove recipients and view bounces here.
By importing email addresses into a list you bring your existing contacts over to us. Please observe our anti-spam guidelines and rules (opens in a new tab) (German).
Personalisations let you address your readers personally in the newsletter. Many use cases (such as birthday greetings, reminders or segmentation) can be implemented with them. The possibilities are endless.
The blacklist, an important part of any newsletter software, makes sure that recipients who no longer want to receive emails are not added again by mistake.
Reports
We offer you numerous ways of measuring your success. Under Activities you will find, among other things, undelivered emails, unsubscribed readers, opens and clicked links per newsletter. Under Performance you can find out at what time your newsletter is read, what share of recipients uses a mobile device or tablet and which links were clicked most. List growth shows how fast your list is growing.
Integration
The section for everything to do with integrating our software into your website. Here you can, for example, create the subscription form and set up your own content for the double opt-in confirmation dialogue.
Configuration
After logging in you go straight to your account details. There you are asked to enter some more information.
Updating your account details
The data still required includes in particular the email and name of the newsletter sender. Please enter the email address and the name with which the newsletter is to be sent.
A different name and email address can be entered in the campaign settings. The email domain must match the domain in your account details. This way you can, for example, set up campaigns whose sender is support@ or info@.
Please also enter your billing address and further contact details. You can also conveniently upgrade to a bigger package here in your account details.
Configuring lists
Once the required data has been entered and saved, you can go to the settings of your lists (opens in a new tab). Two lists are created by default: one for your existing contacts and a test list for internal purposes. Your administrative email address has already been imported into the test list.

Now configure the options Blacklist on unsubscribe and any notifications on subscribing and unsubscribing. The button (pencil icon) takes you to the settings of the list. See also: What is a list and how do I create one?.
Creating a personalisation
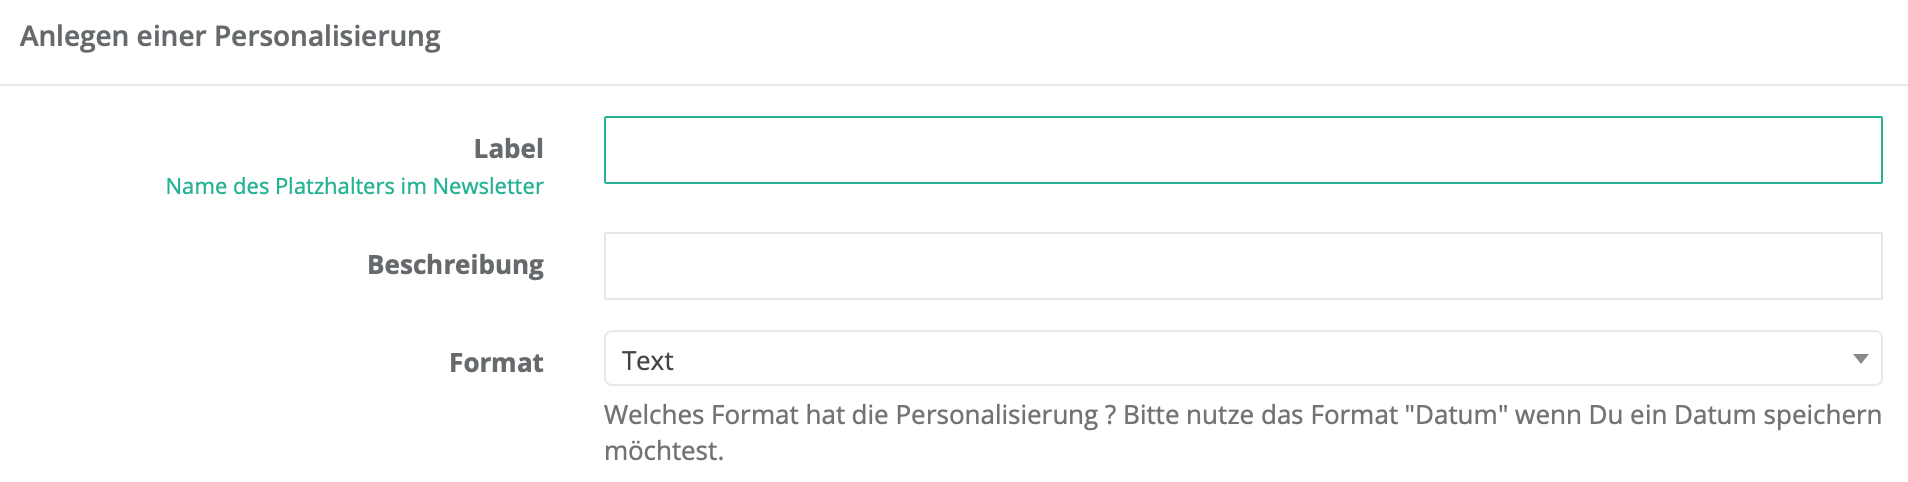
To store and import names, we created a personalisation Name when we set up your account. If you would like to use further personal data such as the postcode, birthday or salutation, please first create the personalisation with the button at the top right.
Importing data
If you already have a customer base (whether with another provider or in your own software), it can be imported into our system. To keep the process simple and the error rate low, we recommend importing a comma-separated list in CSV format. Almost all common solutions offer such an export, so the exported file can then be imported into our system.
Blacklist
Unfortunately, a blacklist cannot be imported automatically yet. However, our support team will import it for you free of charge. Simply contact us via the contact form and send us the blacklist, asking us to import it into your system.
Email addresses
You can import your email addresses in CSV format within a few minutes. The import runs in the background so that you can continue to use the system in the meantime. When the import is finished you will receive an email including an import report.
You will find detailed information about importing in our frequently asked questions. See also: How can I import email addresses
Creating a newsletter
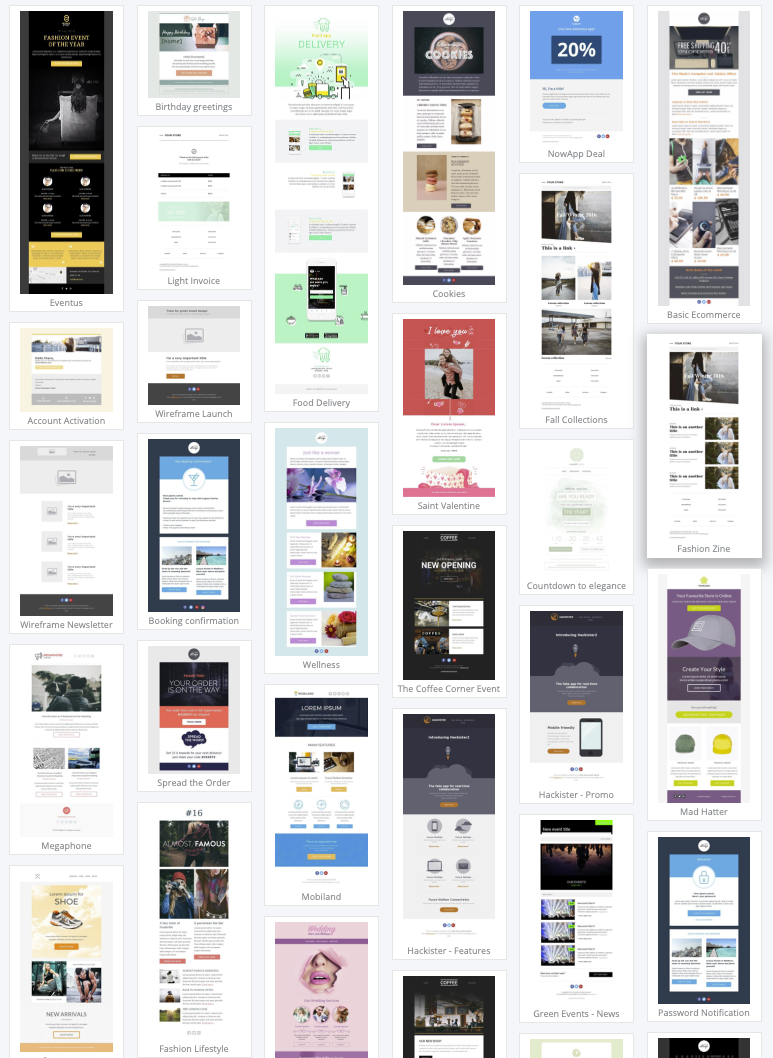
The basic configuration is now complete and you can get started with your newsletter. We offer more than 250 templates for different purposes (including e-commerce, blogs, notifications, travel, gifts, photography, hotels etc.):
Template or draft?
Template
A template serves as the design for new drafts (newsletters). It lets you create an email once and reuse its content for future newsletters again and again. This makes creating new newsletters much easier. Templates cannot be sent directly and help you keep track. The following templates are usually created:
- transactional email (notification, double opt-in etc.)
- newsletter (if desired, different ones per list / language etc.)
Draft
If you have not created a template or would like to try things out first, you can create a draft directly. Add your content to the draft and then create a send job.
Responsive (drag & drop) editor
[responsive]: Responsive design is a design and technical paradigm for creating websites or emails so that they can respond to the properties of the device used, above all smartphones and tablets. Source: wikipedia.org (opens in a new tab)
With our responsive drag & drop editor your newsletters are automatically built to make a perfect impression on all devices (browser, smartphone and tablet). Editing text, inserting images and much more is child's play with our self-explanatory editor.
The editor produces HTML source code that makes your newsletter look perfect on all devices (desktop, tablet or smartphone). And the best part: you do not need to update the template for new browser versions or tablets and mobile devices. Our editor does this for you automatically when saving. The editor also keeps a history so you can undo and redo changes.
A wide range of designs helps you create your own template. Once created, text, shop items or blog posts can be adapted quickly and intuitively.
Structure and use
The editor offers enormous flexibility when designing emails. This is achieved by a conceptual separation of
- General/body (beginning and end of the visible area, settings that affect the whole email)
- Structure/row (row structure within the message that can be added, removed, copied and moved) and
- Content (individual content blocks such as images, text, buttons etc. that can also be added, removed, copied and moved)
General/body
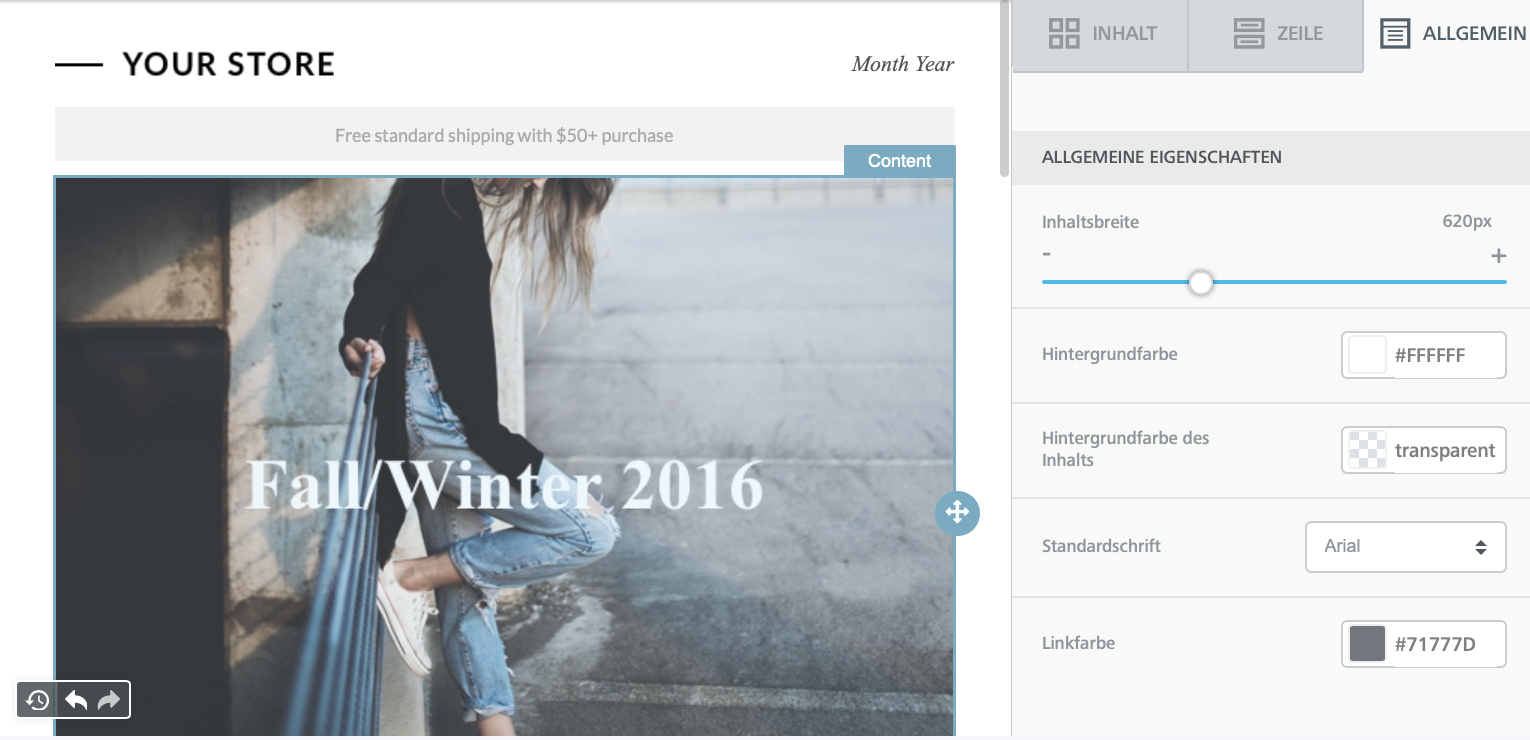
This area contains the general settings of the HTML email. These settings are inherited by the structure and the content blocks. For example, the font set here is used throughout the message unless other settings are made in the individual blocks.
This is very useful for quickly creating an email with a consistent look.
Structure
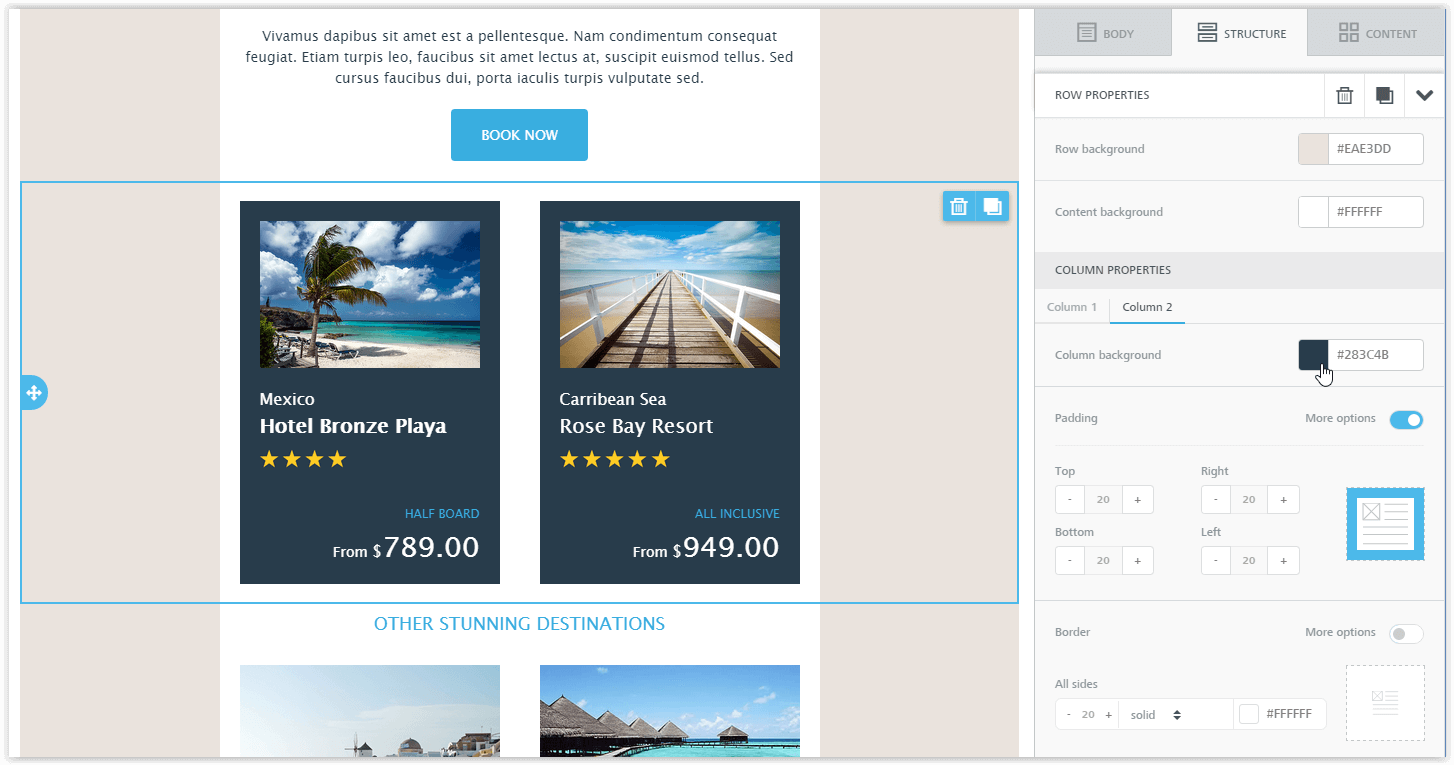
Here you will find different types of rows that you can insert. Rows structure the email horizontally with the help of columns. Rows with up to 4 columns can be used. With more than one column you can, for example, show different content side by side. Whichever template you have chosen, you can add or remove rows with columns at any time.
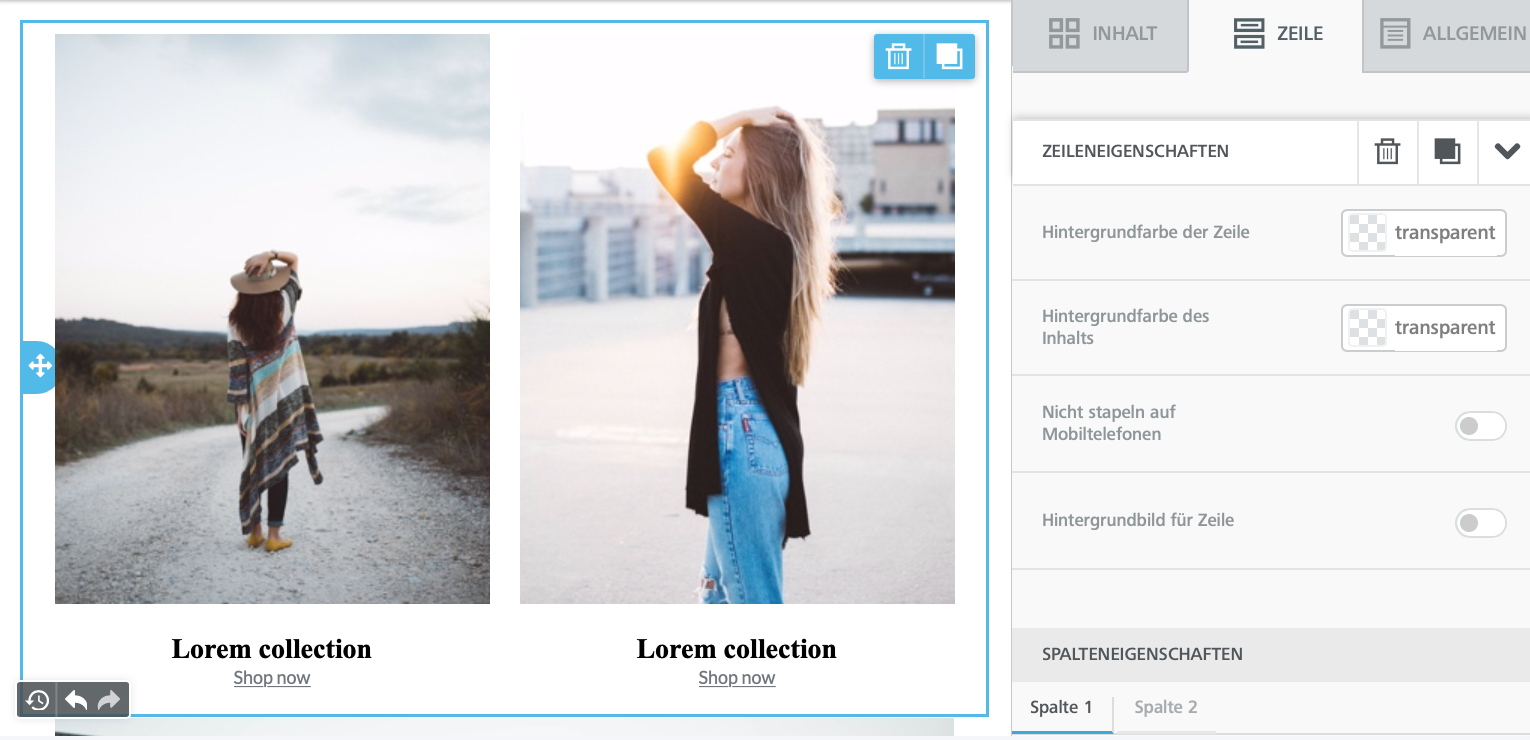
Every row has its own settings, which gives you an incredible range of options. For example, the background colour can be set for the whole row, only for the content area or for a specific column.
Content
This area contains a series of tiles representing the different content types. To use a content type, click on it and drag the tile to the desired position in the email.
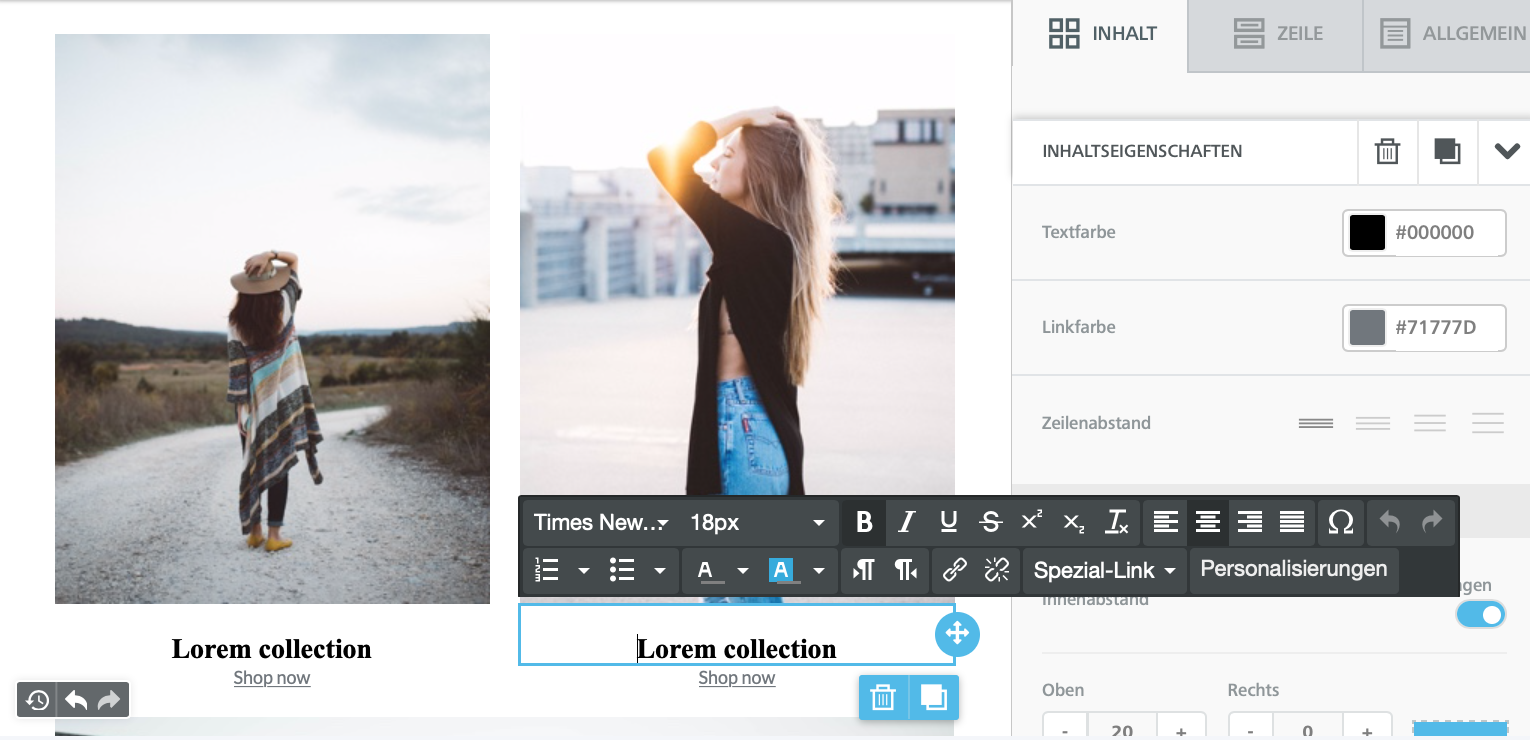
Every content type has its own settings, for example for the padding. The settings on the right change automatically depending on the content type selected in the email.
Sending a newsletter
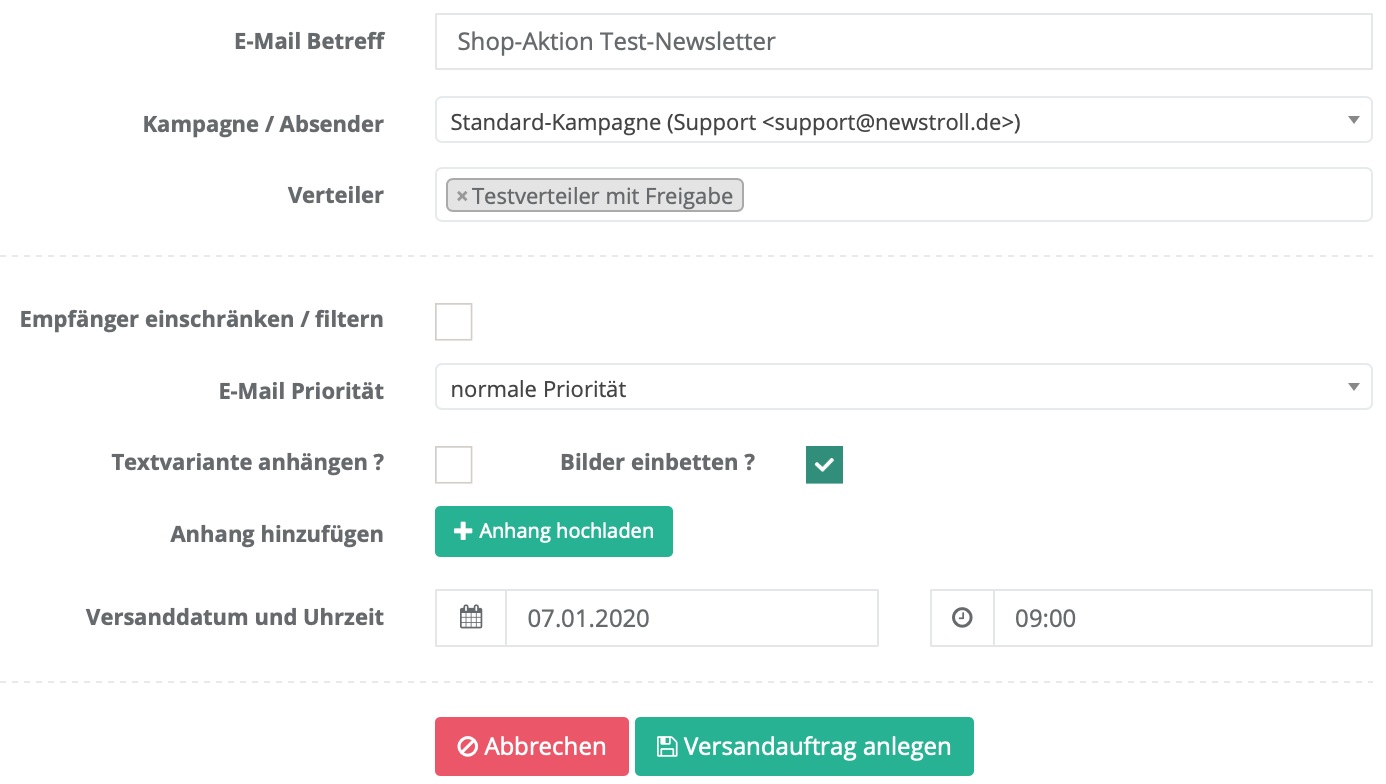
Once your draft is ready, it is time to send it. Click the button with the paper plane icon. If you would like to use link trackers first, choose the corresponding button before it.

Sending options
In the following sending dialogue, choose the list with the desired recipients (for example the test list). You can also decide whether an automatic plain-text version should be added or whether you would like to send the images embedded. See also our FAQ entry: How can I add a plain-text version to my HTML newsletter or embed images?
Summary
These first steps have given you a rough overview of the main functions of our software. You can now create and send newsletters and find your way around the system. You will find further help and information in our guides and in the frequently asked questions: