Inserting content
Adding a menu
To insert a simple text navigation, use the content element Menu.
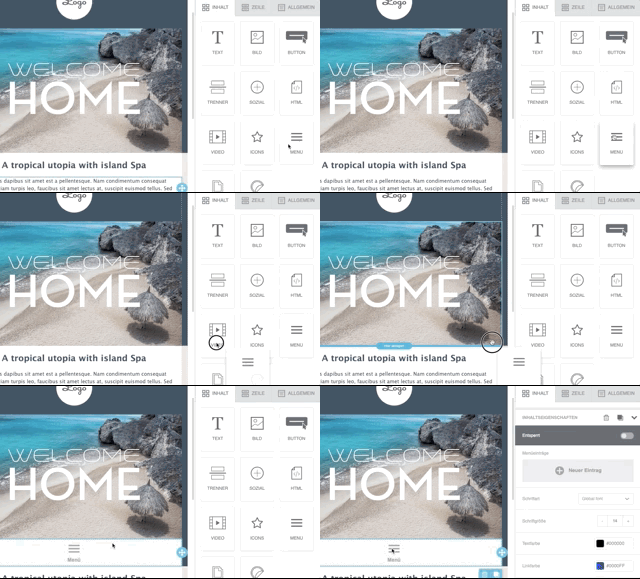
After dropping the menu into the desired row & column by drag & drop, you can add, move and delete menu items in the properties on the right and set the details for each item:
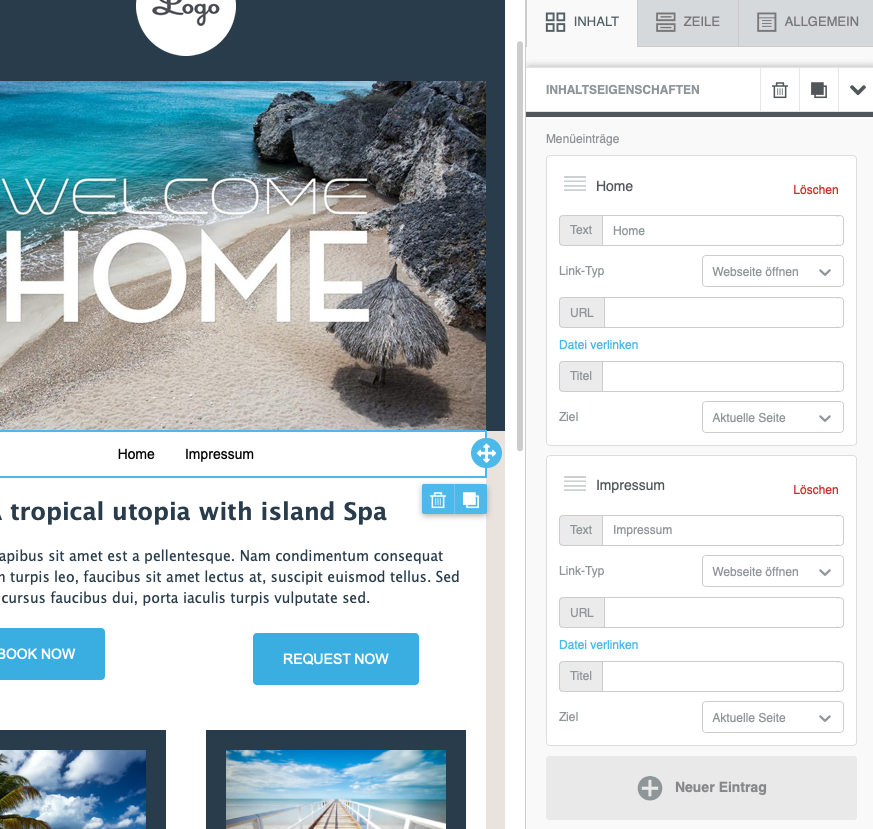
- text
- link (website, email, phone, SMS)
- target (same window or new window)
- title (optional, appears when the mouse pointer is over the text)
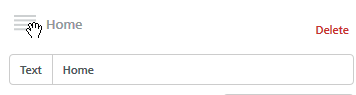
Menu items can also be sorted afterwards with the button on the left. Select the icon and drag it up or down while holding the mouse button.
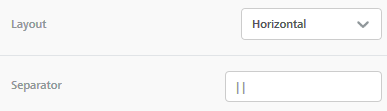
Further down in the properties you can set further options:
- items are displayed horizontally or vertically
- separator between the menu items
Navigation for mobile devices
For a better display of menus on mobile devices you can use the option Mobile menu. There you can choose the icon type and the colour of the icon shown on mobile phones.
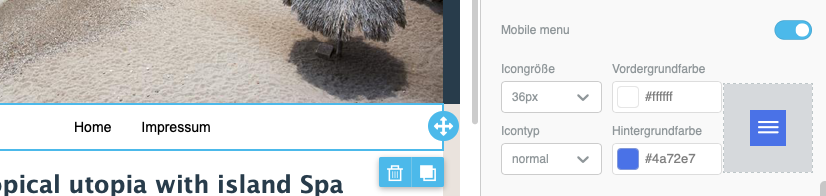
When this setting is activated, a hamburger menu is shown on mobile phones. When the menu icon in the email is tapped, the menu items are shown one below the other.

Working with icons
Overview
When designing emails, you can create different layouts by combining icons and / or images. It may also be necessary to show certain images, such as logos, together.
Here are a few examples created with the icon content element:
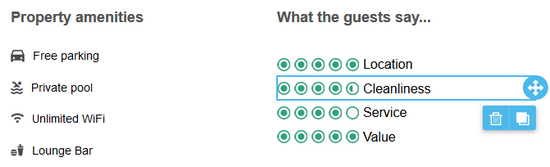
Features and ratings

Logos
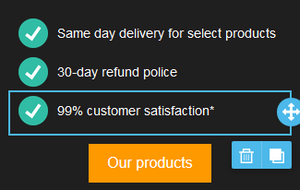
List
Inserting icons
You will find the icon content element on the right under Content. Drag the icon element to the desired position in the email.
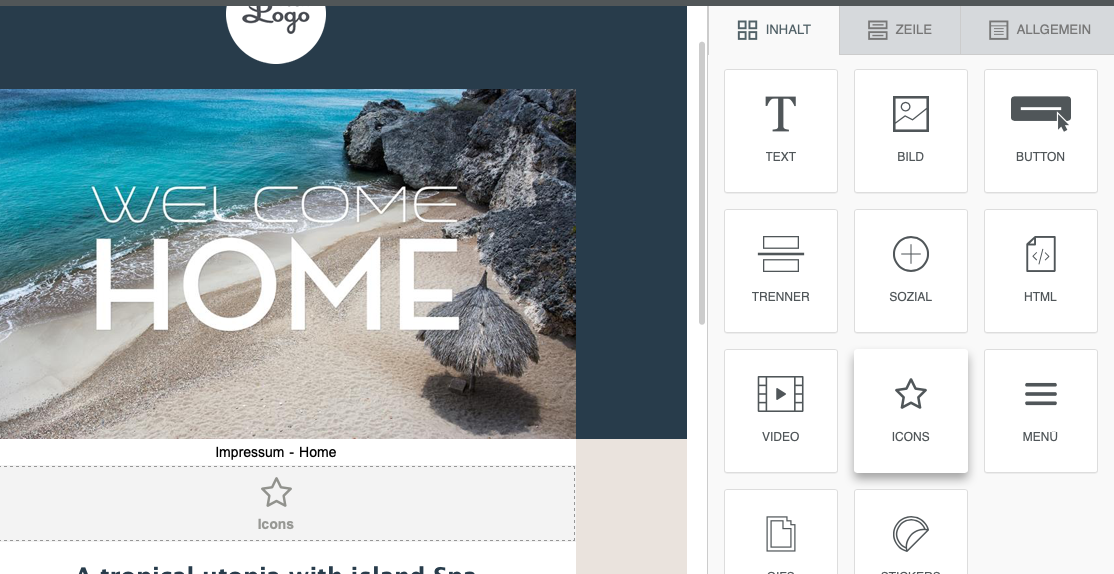
Now select the inserted icon content element in the email and its properties are shown on the right. Choose Add new icon there to add the first icon of your own to the collection.
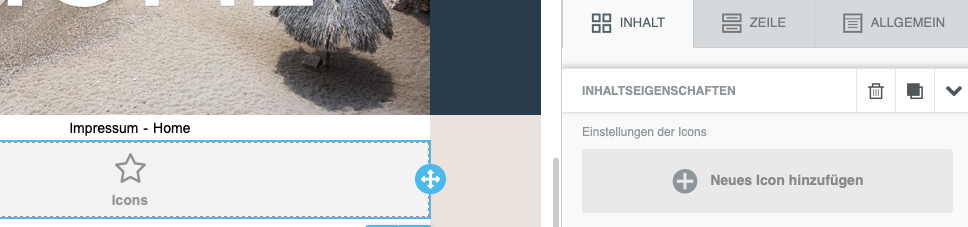
Once the icon has been inserted, you can edit its properties on the right. Choose Change image to insert your own icon or image. Repeat this step until all the icons you want have been added.
Icon properties
Click Advanced properties to set further details for the icons. If you add an icon text, you can choose the position of the text. This dialogue also contains the alternative text and the link / URL and link type.
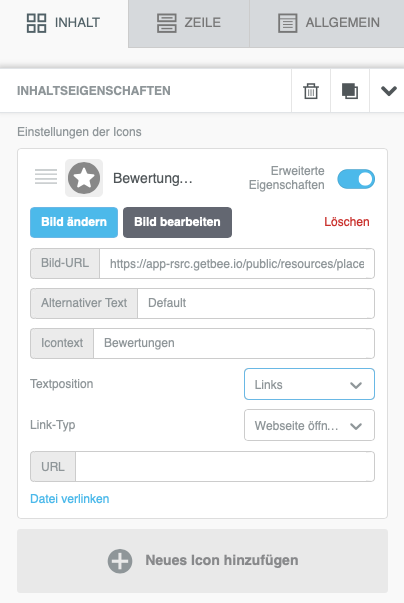
If you want to change the order of the icons, you can move the individual icons up or down (as with the menu) with the corresponding symbol at the top left.
Further down in the properties you will find additional options especially for the icons:
- size of the icon (16, 32, 64 or 128px)
- spacing between the icons (from 0 to 20px)
- padding (per icon)